Process: From photos to finished portrait
Step 1: Choose Your Photos
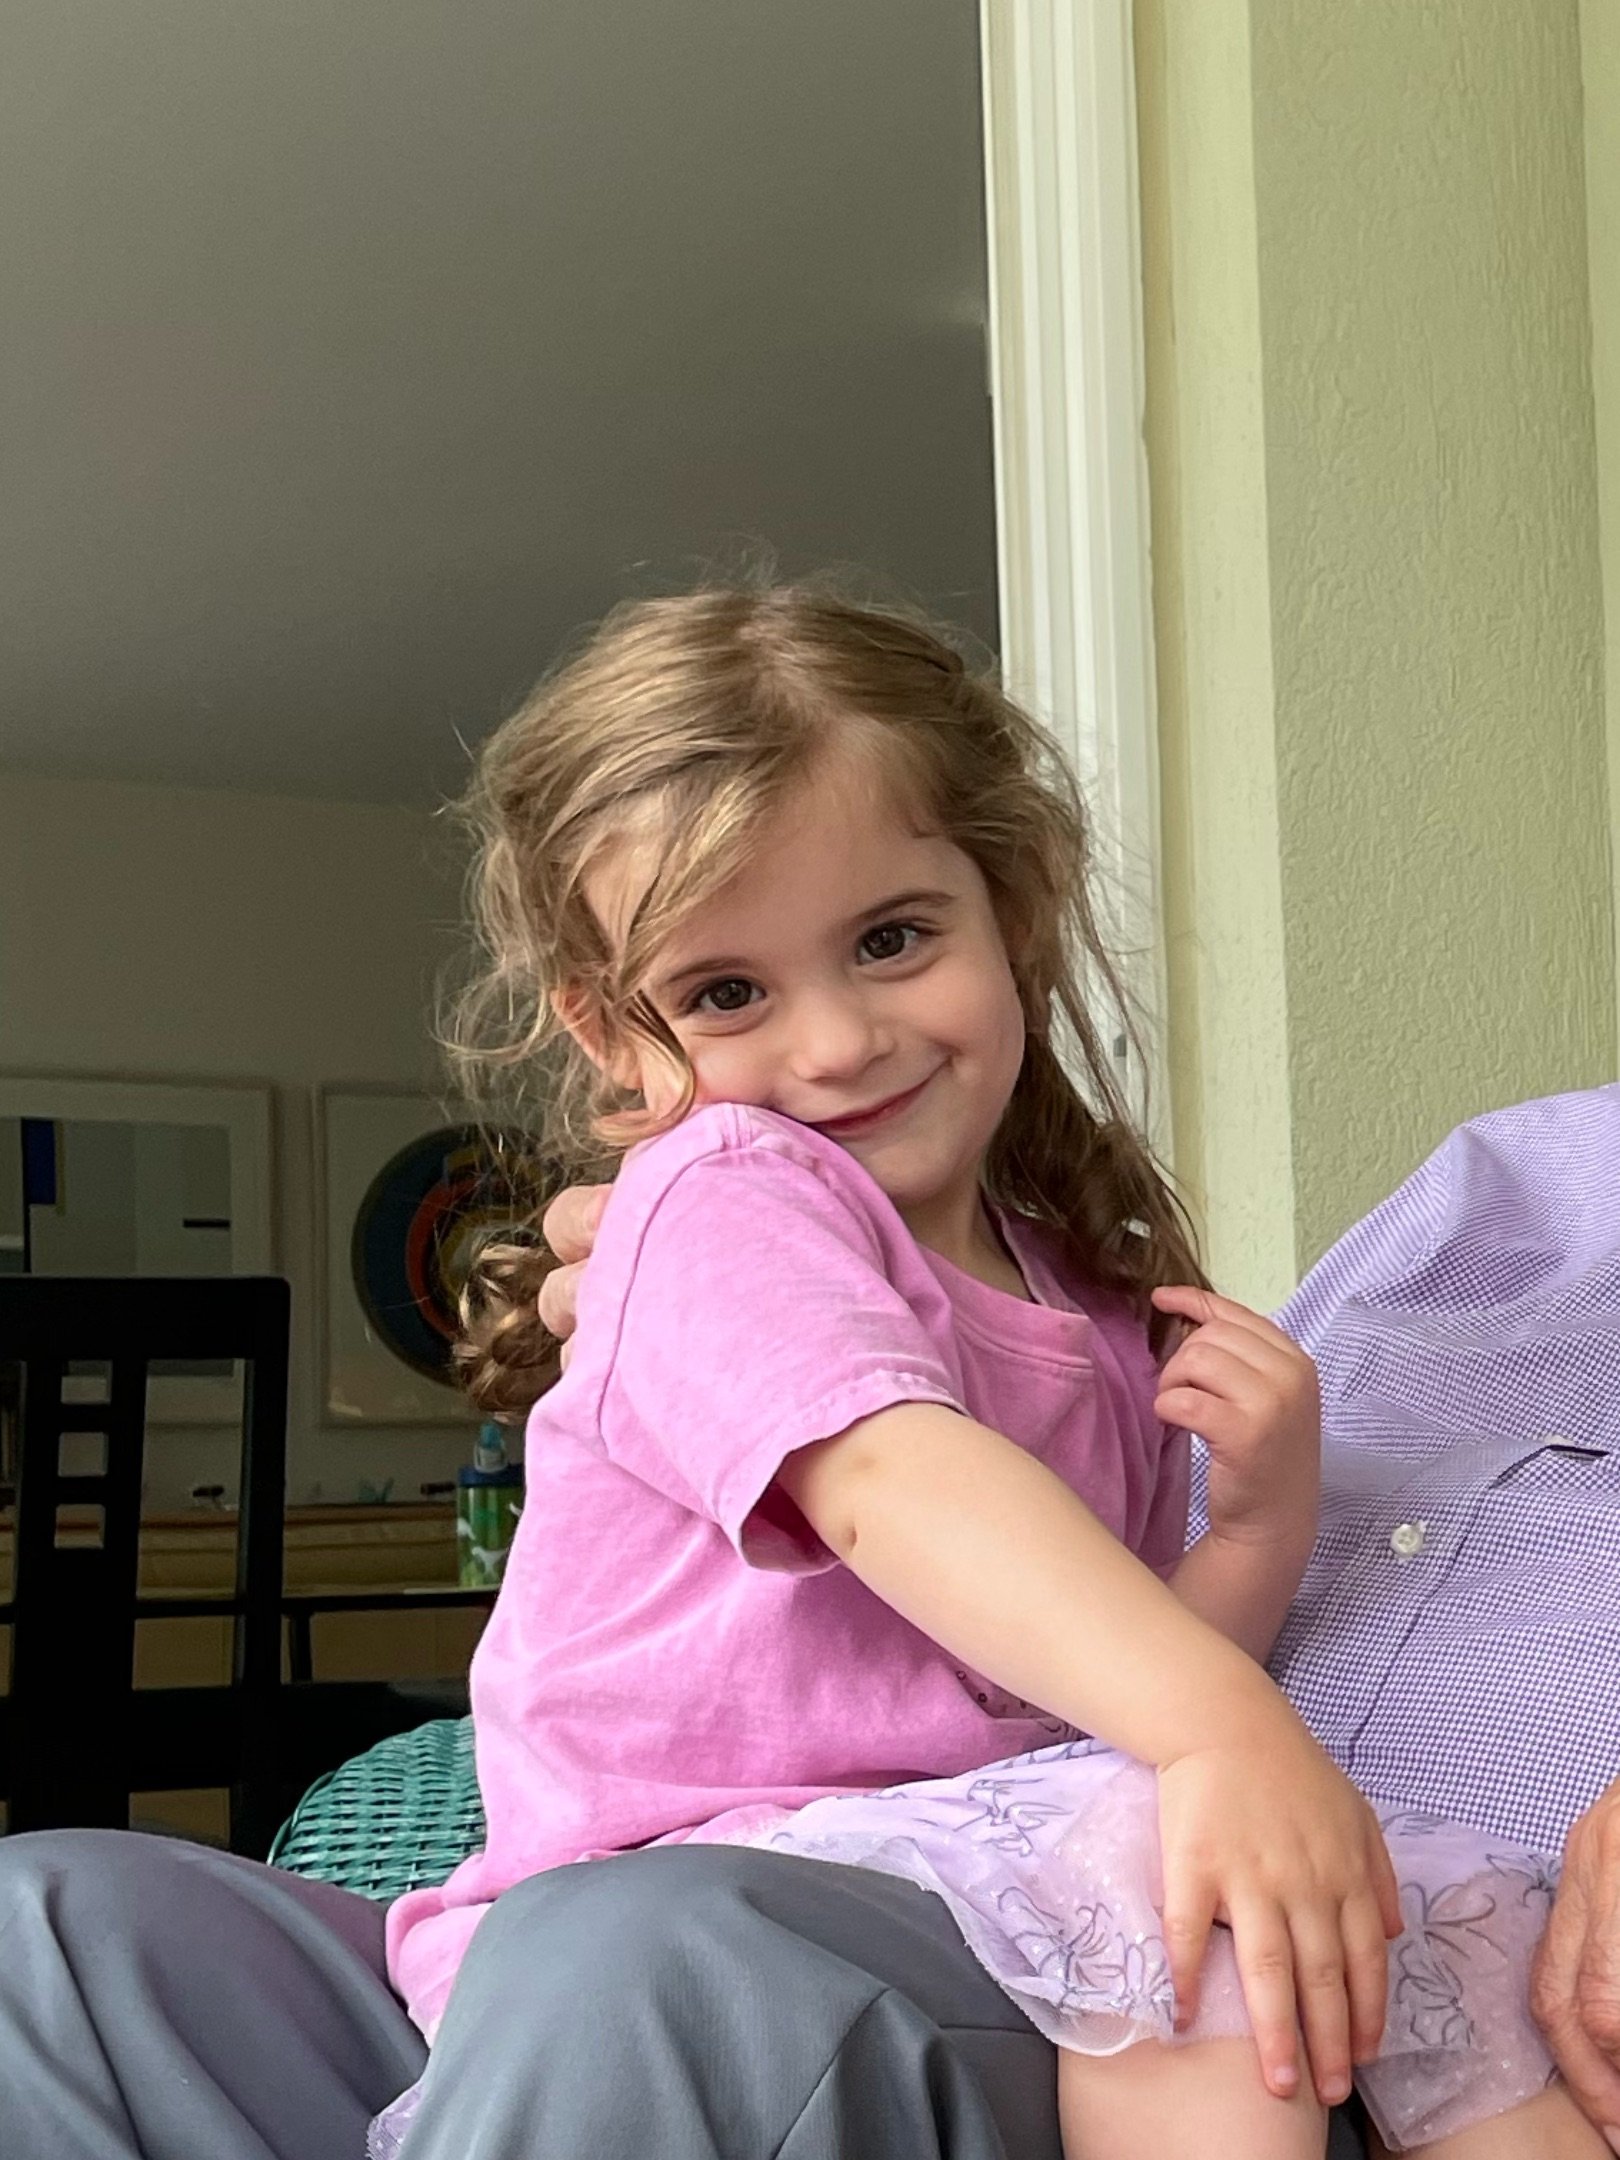
I begin by reviewing the 1-3 photos submitted by each person. I carefully select images that capture their essence, personality, and unique features. These photos serve as the references for each portrait.
Step 2: Digital Sketching
Utilizing Procreate and Adobe Fresco on my iPad, I draw the portraits digitally. This digital platform provides flexibility and convenience, allowing me to edit and refine the sketches to achieve the best result for engraving.
Step 3: Select Your Engraving Tools
For engraving, I employ two types of lasers: CO2 and dioxide lasers. Each laser offers distinct capabilities, creating variations in depth and texture that add dimensionality to the artwork. The CO2 laser produces deeper engravings with a uniform pattern, while the dioxide laser introduces subtle gradients for a more lifelike effect.
Step 4: Engrave with Precision
Choosing the right piece of wood is crucial for the engraving process. Options include maple, walnut, cherry, mulberry, and ash wood, sourced from Makers Workshop in Maynard, MA. They specialize in turning local trees, fallen due to storms or other reasons, into laser-ready sheets. Each individual portrait is engraved on a unique piece of wood, requiring slight adjustments in settings for each portrait.
Step 5: Assemble Your Masterpiece
Once all the portraits are engraved, I meticulously assemble them into a tapestry of portraits. I approach the assembly process with the care and precision of weaving together a tapestry, seamlessly blending each piece to create a visual narrative greater than the sum of its parts.


